Monday, September 30, 2013

Orange Marbled Shaving Cream Paint

We have done this marbling technique a couple times with shaving cream, and it never fails to be one of our favorites!  This time we used red and yellow food coloring to make a beautiful fall pattern.  You will need:

-Shaving cream
-Food coloring
-Chopsticks or pencil or a stick
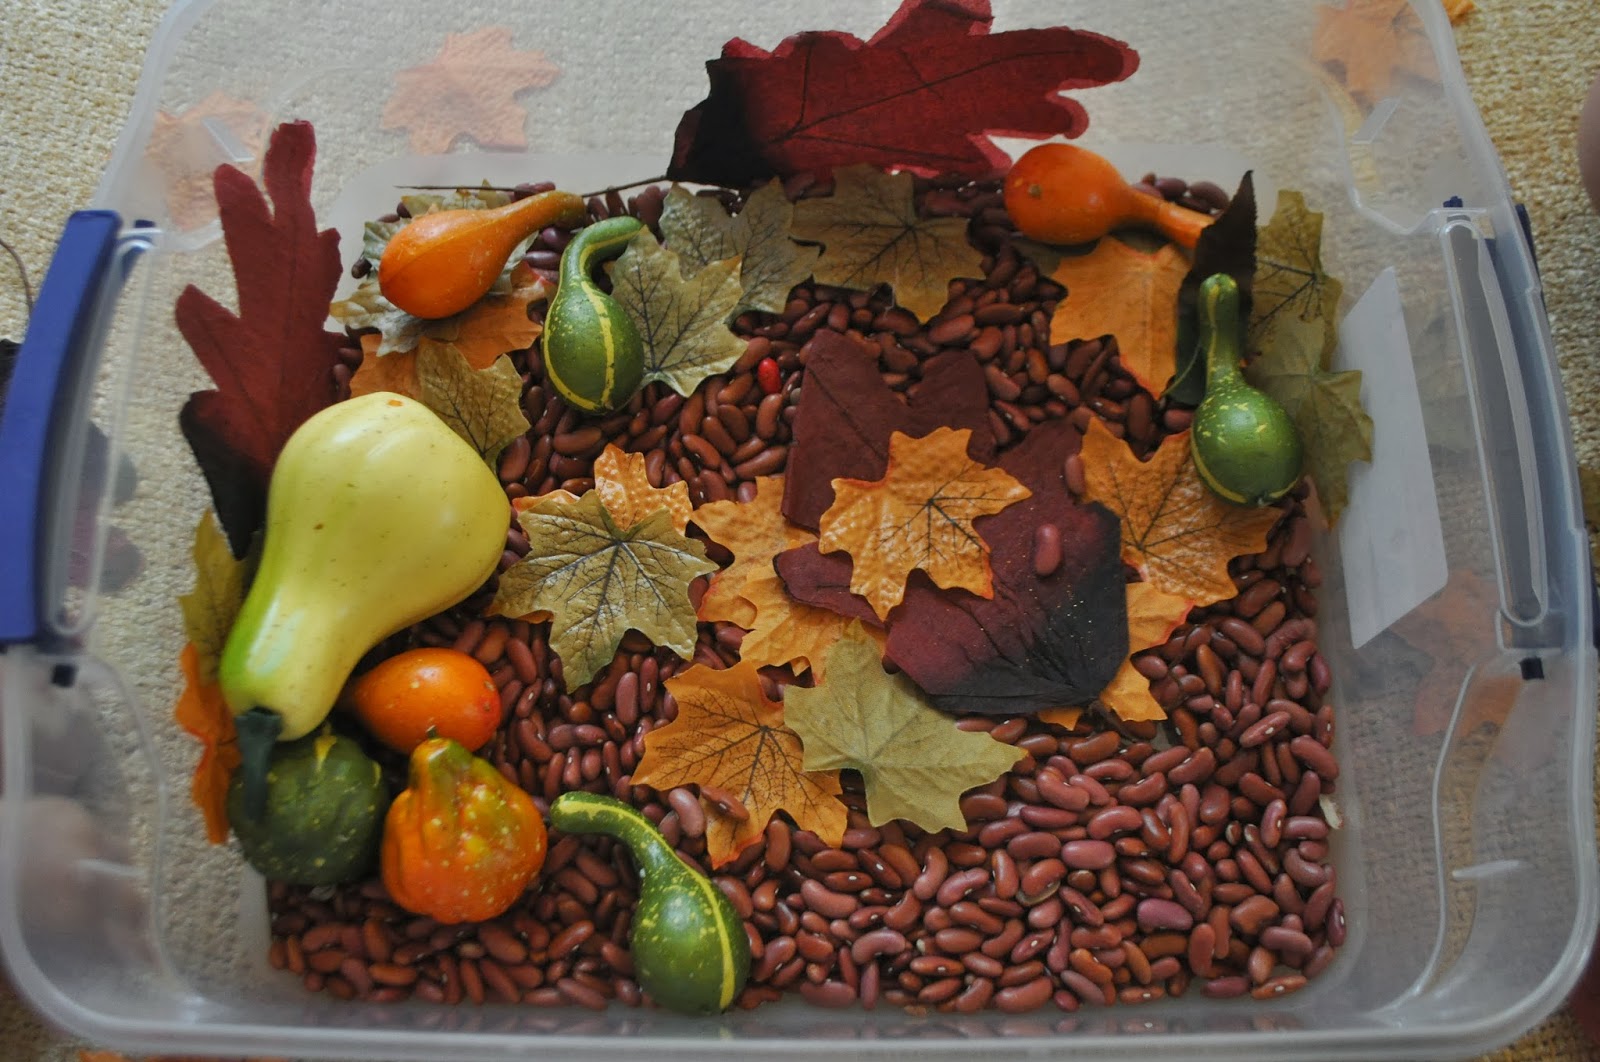
-Construction paper (I cut them out to look like leaves)
-A flat object like a ruler
-A container


Spray the shaving cream into a bucket:


And then smooth it out with your flat object:


Start dripping in some food coloring:


Then use your chopstick to stir the colors together:


There is no wrong way to stir, but you don't want to stir in one spot for too long.  An up and down motion creates really neat patterns as well:


Once you feel it's mixed enough (isn't that just beautiful?!)


Grab your piece of paper and place it in the shaving cream.  Pat around to make sure it is covered:


Let the shaving cream stay on the paper for 10 minutes:


After ten minutes, use your flat object or ruler to scrape off the shaving cream.  You will be left with the beautiful pattern on your paper:

Orange Week Sensory Bin

To go along with our Fall week from last week, we began our Orange Week this week:


I simply placed fake orange leaves as the base, orange gourds and pumpkins, as well as our orange toys:


I loved how true to the season this arrangement looked...the color orange is the official color of fall, right?!  And since we didn't get a chance to do it last week, we worked on our Fall poster:


With orange letters and fall leaf foam stickers:


Friday, September 27, 2013

Fall Week

Sorry for being behind on posting; our trip to Disney wore us out ;)  As soon as we came back, we enjoyed celebrating our fall week:


Our fall sensory bin was a huge hit - particularly since Monkey J put it together all by himself!


We used kidney beans as the base, some leaves from our yard, some fake leaves and gourds from The Dollar tree:


We did some leaf tracing from a leaf tray I had:


And then practiced our fine motor skills by cutting it out of the paper:


We also made some leaf figures by using some of the fake leaves (real ones would work too!), some craft sticks, some googly eyes, and some glue:


We also made some butterflies with the leaves and eyes too!


And here's one using a craft stick:


We put on a fall puppet show:


And we made some paintings using acorns and pinecones we collected from around our yard as our brushes:


A most wonderful fall week!

What are some of your favorite fall activities?  
We are looking forward to visiting an apple orchard and a pumpkin patch soon!

Thursday, September 26, 2013

SET: The floating paperclip

This one was really neat for the little monkeys and adults as well ;)


You will need:

-A clear bowl
-A paperclip
-A pencil with an eraser
-A small tissue or paper towel

We first simply tried to float the paperclip in the bowl of water, but it would just sink to the bottom:


You then place a piece of tissue in the bowl of water and place the paperclip on top of the tissue.  With the eraser side of the pencil, gently push the tissue away from the paperclip (or you could even wait for the tissue paper to fall away on its own):


What's left is a floating paperclip!


This works due to surface tension, which is essentially sticky water.  Water molecules behave differently at the surface because there's no upward motion.  The result is surface tension and it's the reason bugs can stay afloat on the water.  The surface tension is always there and my hubby was determined to have the paperclip float simply by putting it in with his fingers without using the tissue.  

You can do this easily enough by turning your hand palm facing up, placing the paperclip on your index and middle finger, and gently lowering the paperclip into the water.  You will actually feel the surface tension at work and, if you do it slowly enough, the paperclip will float.  The tissue in this experiment simply helps kids place the paperclip onto a surface. 

A very neat way to see surface tension in action; and a way to impress adults at your next get-together as well?! 

Thursday, September 19, 2013

Mickey and Minnie Tote Bags

I wanted to give the kiddos a little something of their own to hold their autograph books and their pens, so I made some little tote bags:


I cut out a Mickey/Minnie silhouette from some foam paper:


And wrote the names in fabric paint:


For Minnie, I attached a bow with my glue gun:


I found some autograph books (they were really just notebooks but they did the trick!) for 99 cents from Party City.  I also found some notebooks and cut out some Mickey/Minnie pictures from a Dollar Tree book and applied it to the notebooks with my hot glue gun.  These make perfect sticker books and/or coloring books for the flight:


We are off to Disney tomorrow!

SET: Invisible Ink

Today for our Science Experiment Thursday, we made some invisible ink:


All you will need is:
-Lemon Juice
-A piece of paper
-Paintbrushes
-A heat source (stove, strong light bulb, candle, etc.)


I had Monkey J squeeze some lemon juice into a bowl and then use a paintbrush to make a drawing:


Monkey A also got involved in the process:


Meanwhile, I made a Mickey silhouette:


I let Monkey J do some painting while we waited for the lemon juice to dry on the paper:


Once it was completely invisible:


We moved the paper over to an open flame on the stove.  Luckily for me, my dad was visiting so he was able to help:


Right away the flame picks up the lemon juice:


Hold it over the heat a bit longer and your invisible ink suddenly becomes visible!


Pretty neat!  So how does it work?
Lemon juice is mildly acidic, which weakens the paper.  When the paper is heated, the juice browns first because it has been weakened by the acid.  You can also use vinegar and other fruit juices.

A super fun experiment!

Cinderella Castle Stamping

I've had these foam shapes for a while now from The Dollar Tree.  One is the shape of a castle, so I thought we would do some Cinderella Castle Stamping:


I had Monkey J mix some blue paint with some white paint to get a nice, light-blue color like Cinderella's castle:


He then painting the shape:


And began stamping away on a sheet of paper:


Even Monkey A helped!


In the end we had a bunch of pretty castles:


Can't wait to see their faces when they see the real deal!